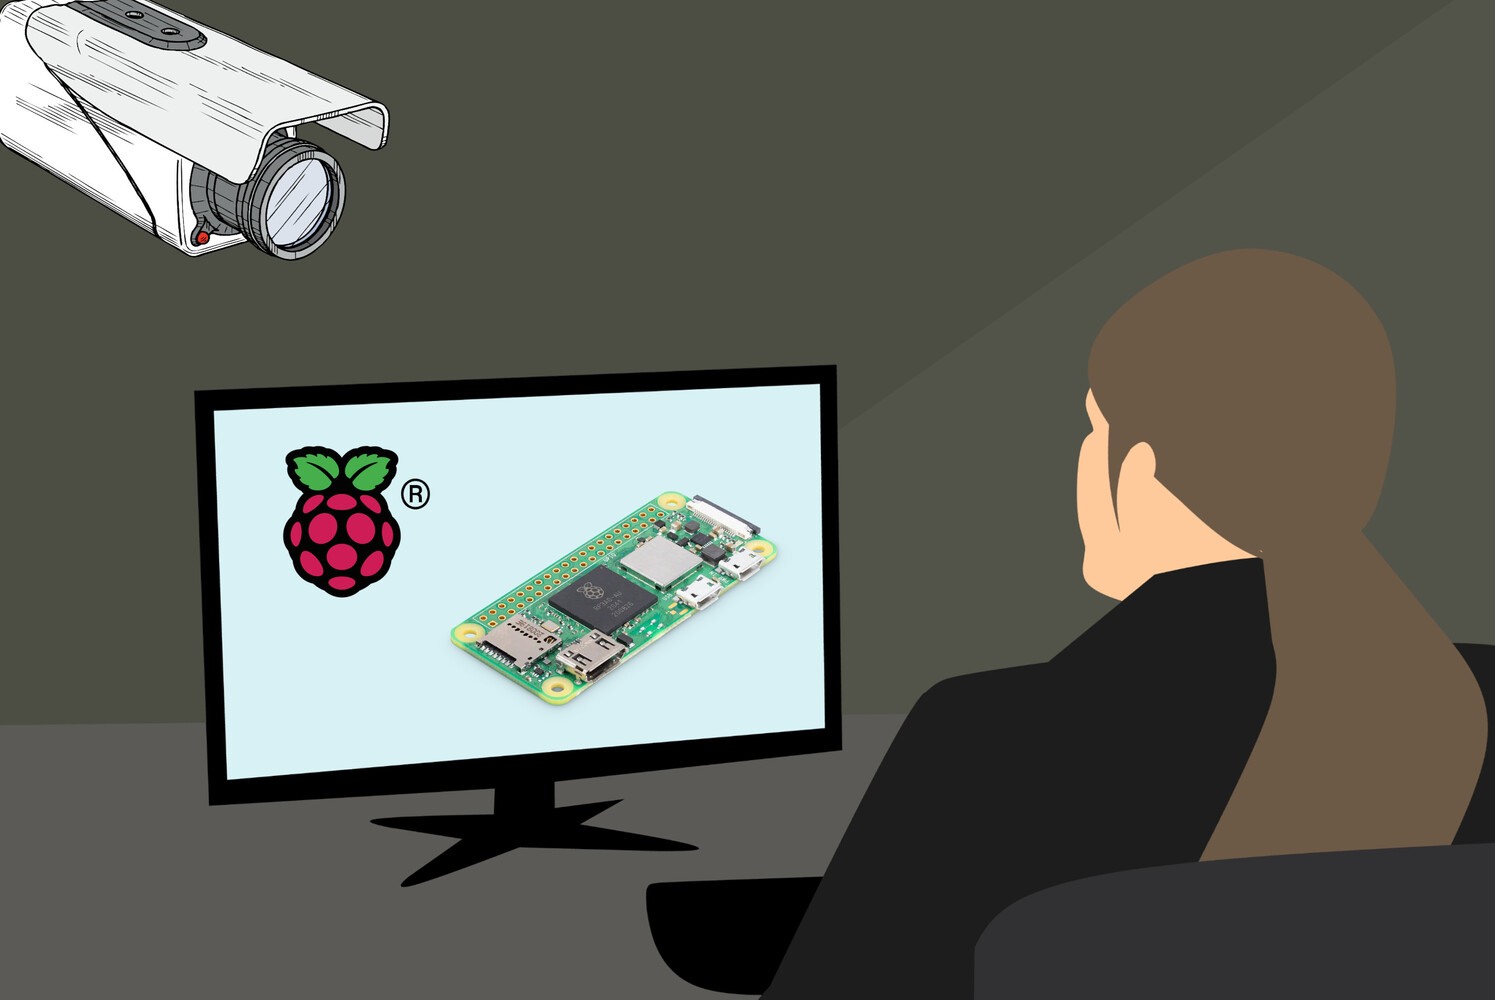
Not too long ago I set up a few IP cameras around the house. As I work mostly from home, I wanted a non-proprietary and cost effective way to monitor four video feeds at any time while I’m in my study.
This blog post details the solution I came up with, which leverages a Raspberry Pi Zero 2 W and an old monitor I had lying around.
Before blindly following the instructions in this post, please consider the caveats! 🙏
Hardware Requirements
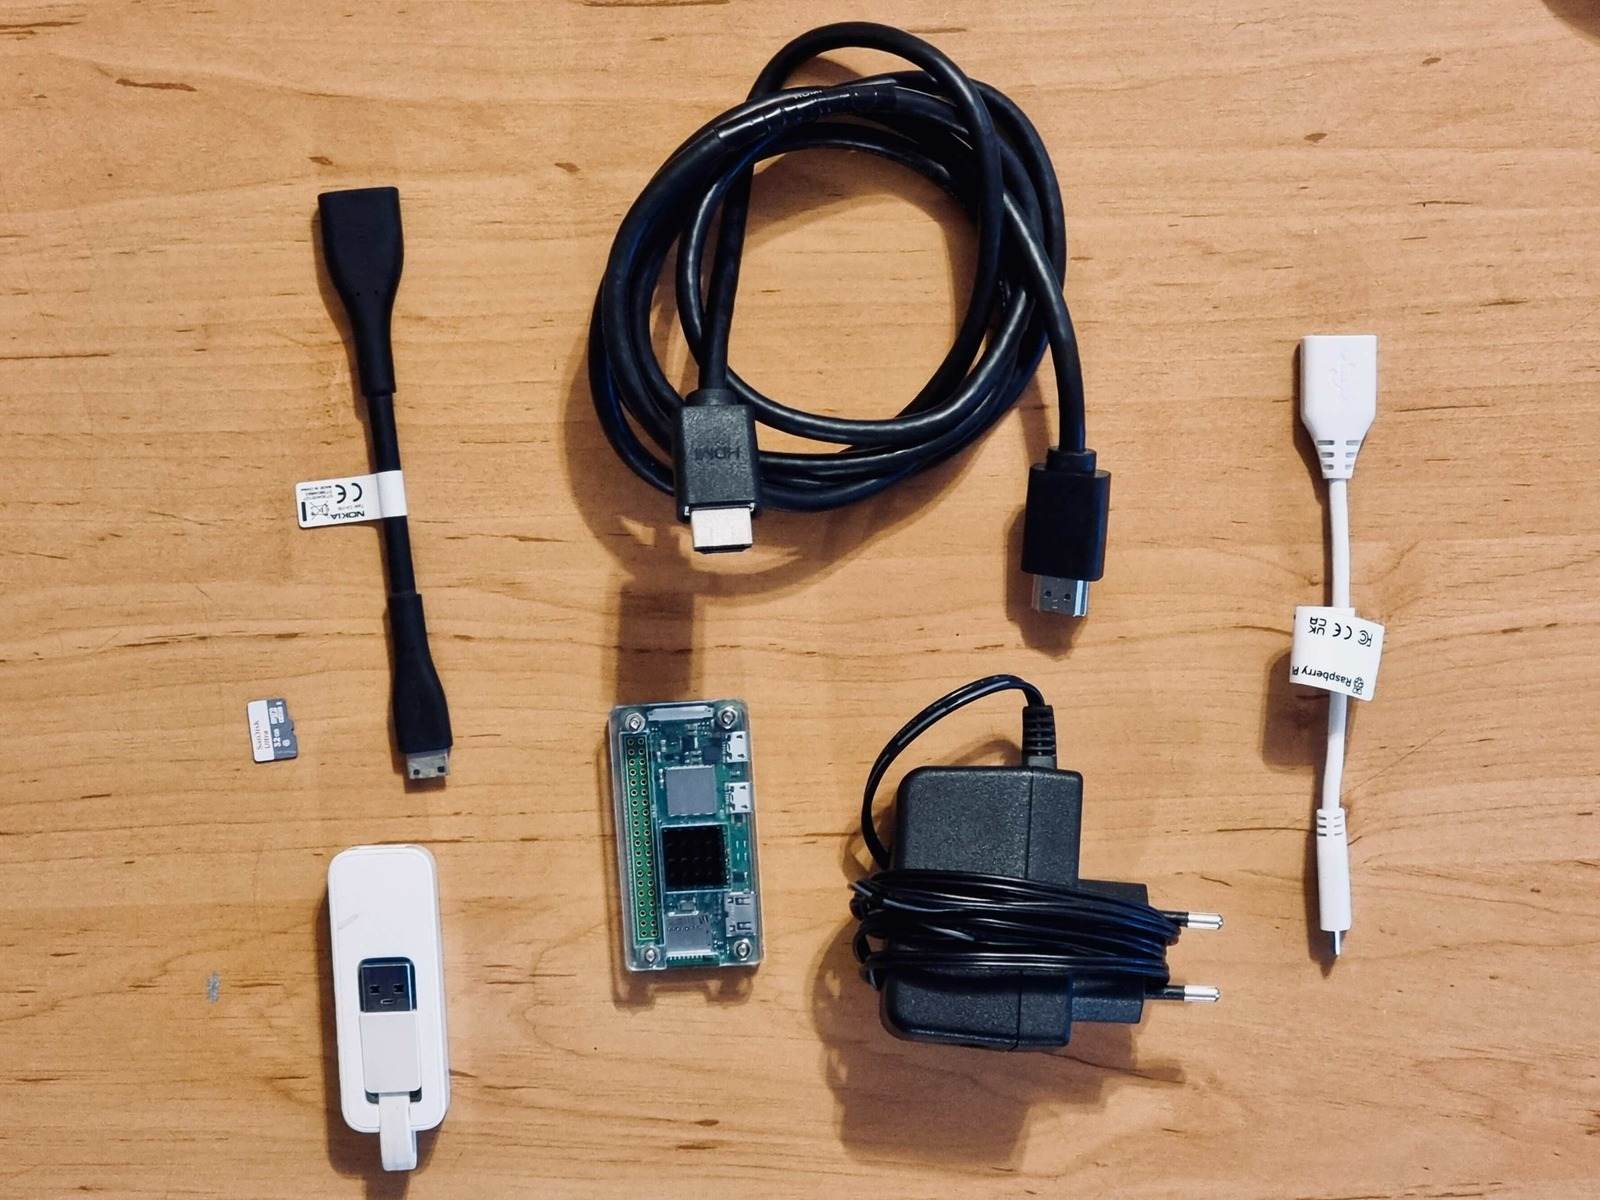
- A Raspberry Pi Zero 2 W.
- (Optional) A USB OTG cable (if a wired connection is preferred over WiFi).
- (Optional) A USB to Ethernet adapter (if a wired connection is preferred over WiFi).
- (Optional, but highly recommended!) A heat sink and enclosure for the Pi.
- A mini HDMI to HDMI breakout for the Pi.
- A power supply for the Pi.
- A microSD card reader/writer for writing the Pi image.
- An old HDMI-compatible computer monitor, either one laying around or getting a cheap one on the second-hand market.
- An HDMI cable.
It’s probably easiest to just buy a bundle for the Pi Zero 2 W, which normally includes most of the stuff needed on the Pi side.
0. Preparation
The only requirement before getting started is to download an older, archived 32-bit version of Raspberry Pi OS based on Debian 10 Buster (the 32-bit OS will use less memory on an already starved Pi Zero). The last released build is hosted here: https://downloads.raspberrypi.org/raspios_lite_armhf/images/raspios_lite_armhf-2021-05-28/2021-05-07-raspios-buster-armhf-lite.zip.
😱😱😱 A deprecated operating system? But what about security!
I know, I know, but the reason for this is that I leverage a tool for displaying the camera feeds which relies on an older video player called omxplayer. omxplayer supports the hardware acceleration on Pis, but is deprecated on newer versions of RaspiOS in favor of vlc. While vlc can do hardware acceleration in newer RaspiOS versions, I’ve (anecdotally) found that omxplayer has slightly better latency when streaming the feeds.
The Pi is connected to a secure internal network with limited routing and will only ever run an SSH server outside of the camera feed software so there shouldn’t be much risk to it.
1. Flash the MicroSD Card
On a desktop/laptop, prepare the microSD card for the Pi.
The easiest way to flash an SD card for a Pi is to use Raspberry Pi Imager, which can be downloaded from the Raspberry Pi website.
Open up Raspberry Pi Imager.
Click CHOOSE DEVICE and select “Raspberry Pi Zero 2 W”
Click CHOOSE OS, scroll down and click Use custom and then select the downloaded
2021-05-07-raspios-buster-armhf-lite.zipfile.Click CHOOSE STORAGE and select the target SD card.
It should look something like this:
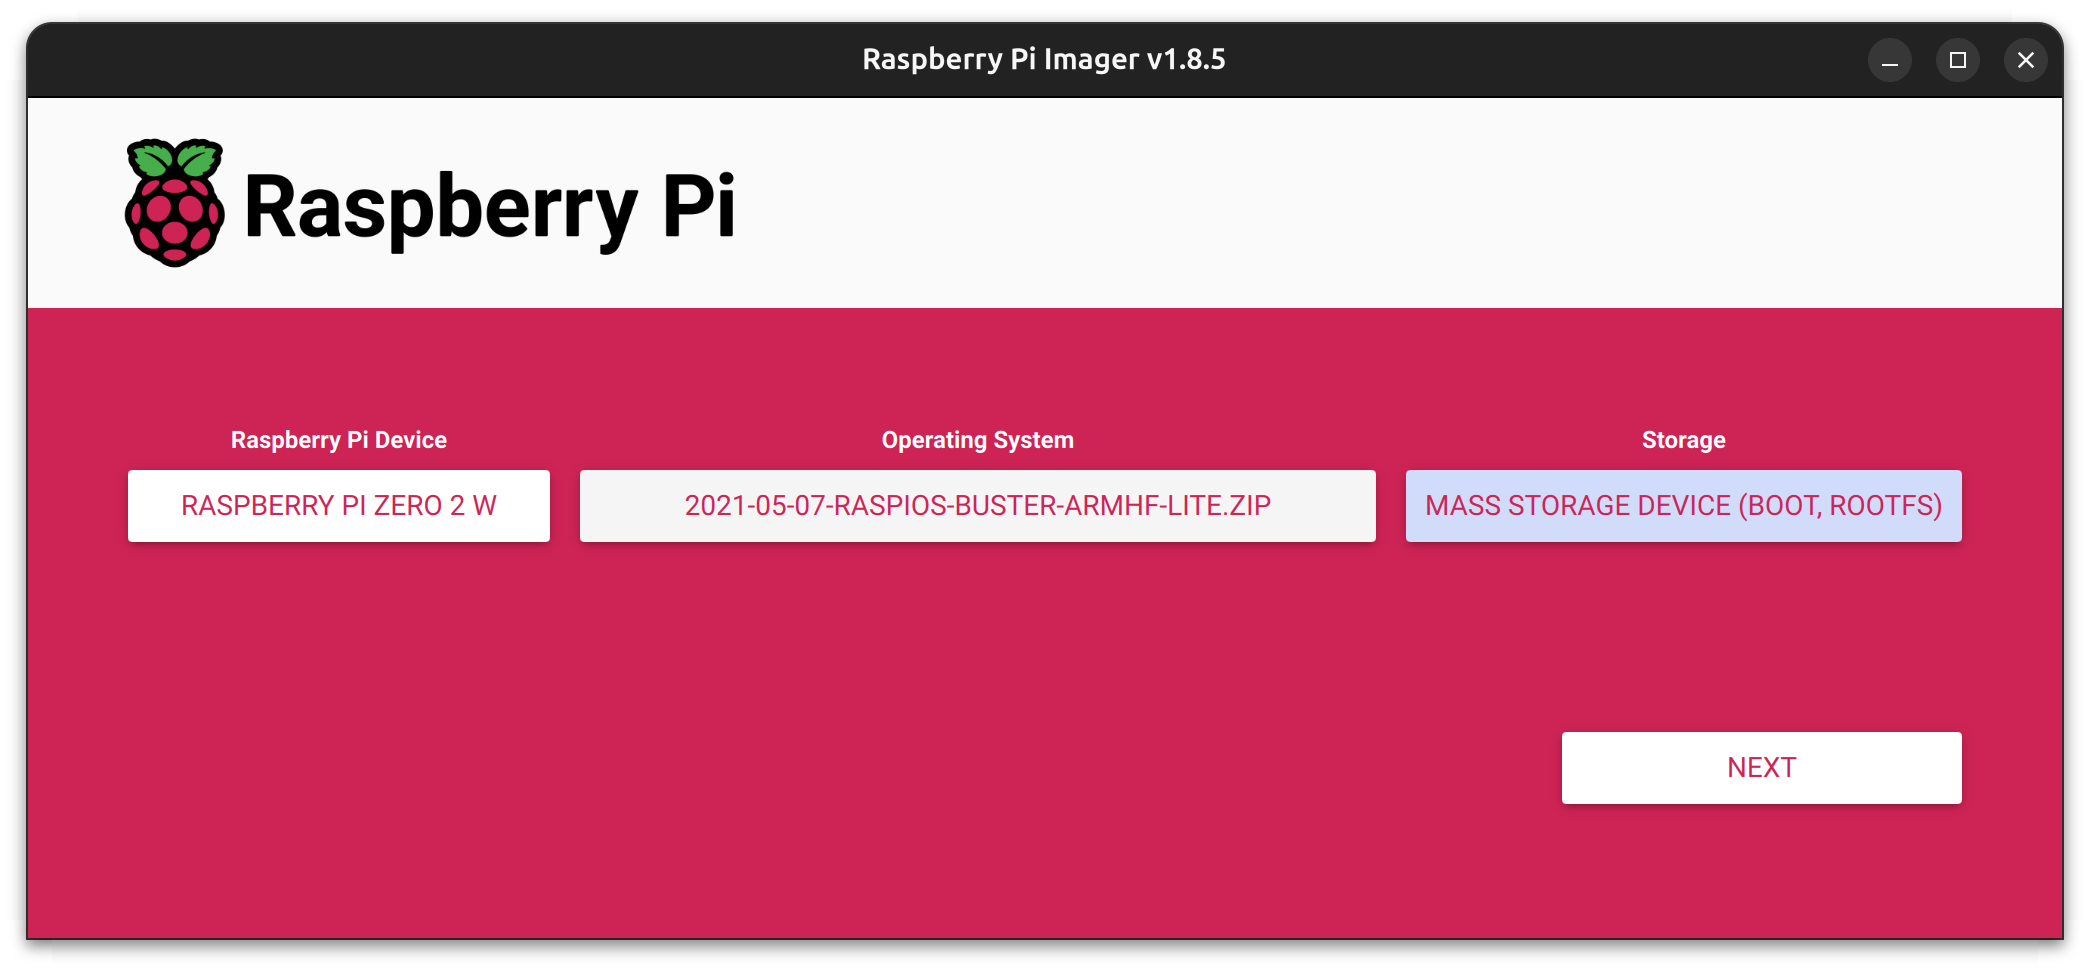
Click NEXT.
When presented with the OS customization window, click EDIT SETTINGS, make the appropriate changes to allow access to the booted operating system and click SAVE. For example, these are the settings I used:
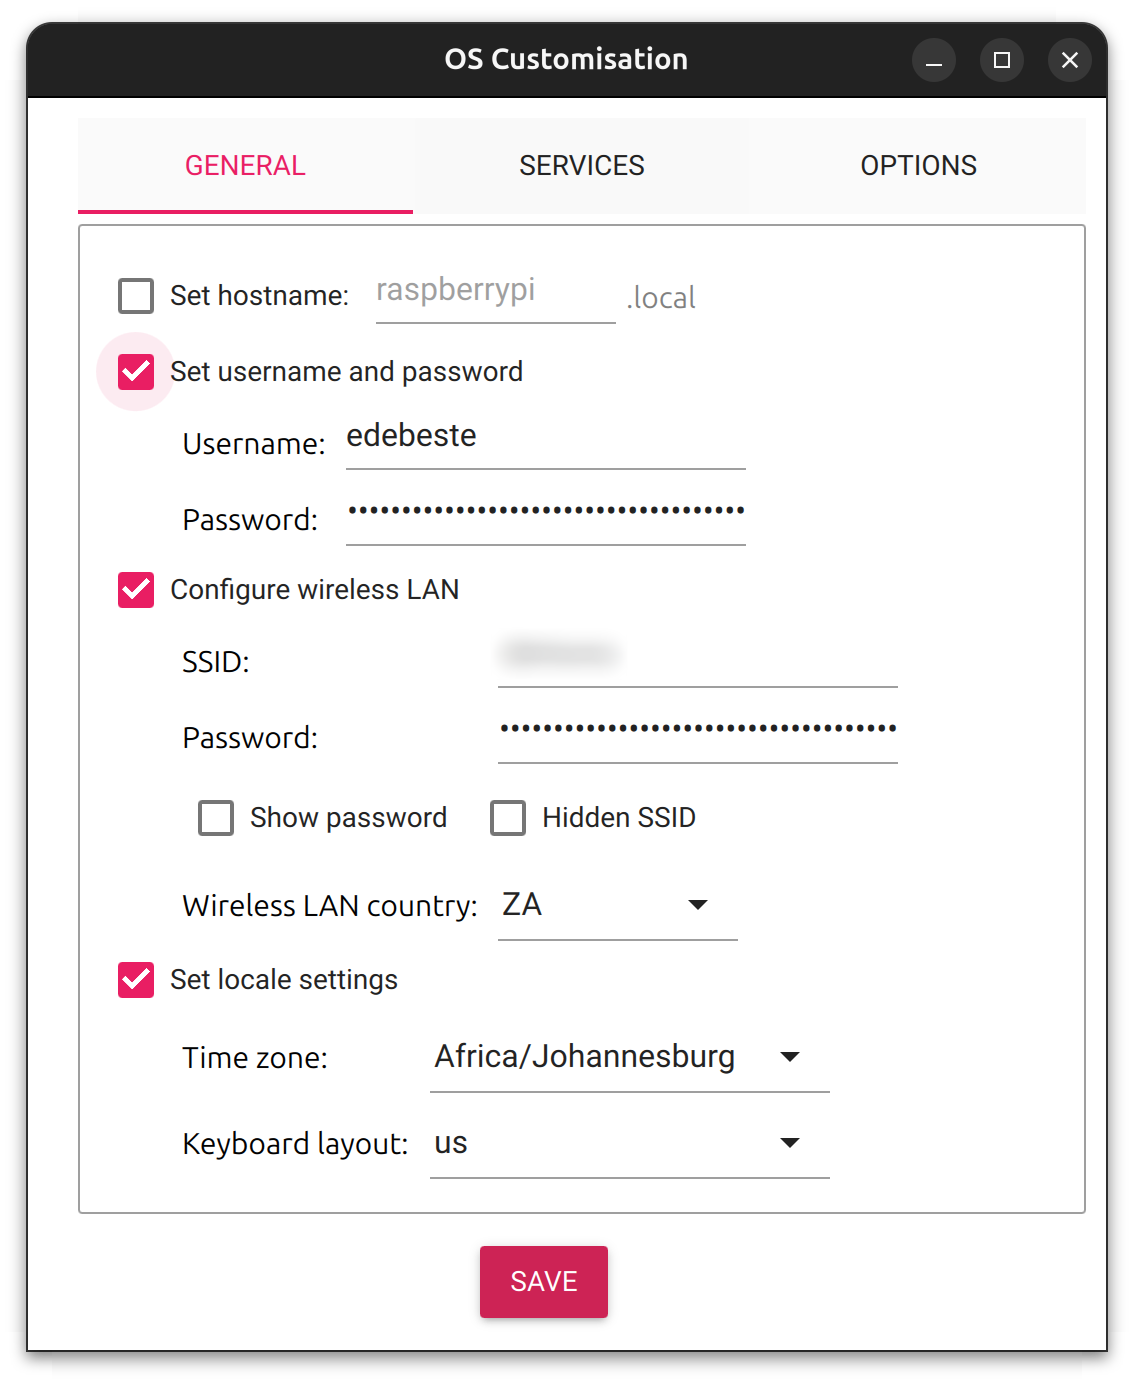
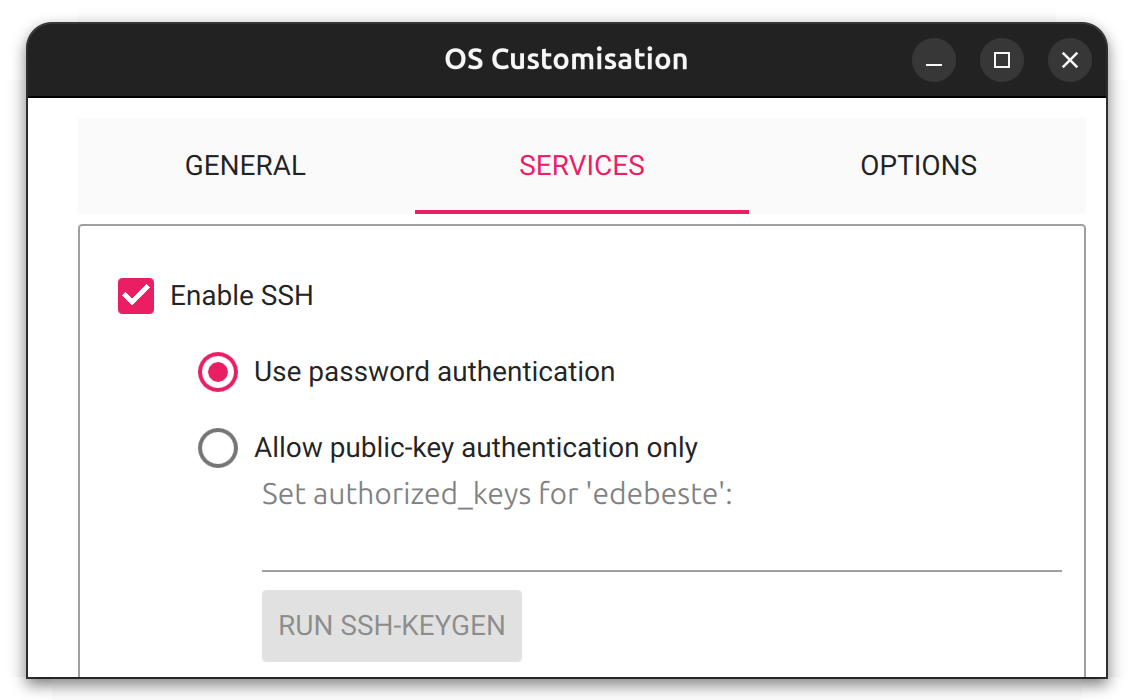
I intend to customise the hostname and additional properties later, so I just need to configure basic authentication and ensure that the device can connect to my network on first boot.
Once ready, click YES to apply the configuration and then YES when prompted to erase the SD card and wait for the writing to complete.
2. Access The Pi
Now to set up the Pi for remote access and in preparation for configuring the camera display software.
Tip
If a wired connection preferred over WiFi a USB OTG cable, USB to ethernet adapter and ethernet cable must now be connected to the Pi.
Using either a microHDMI to HDMI cable, or a microHDMI to HDMI adapter and a normal HDMI cable, connect the Pi to the chosen display, plug the power in and wait for it to boot up.
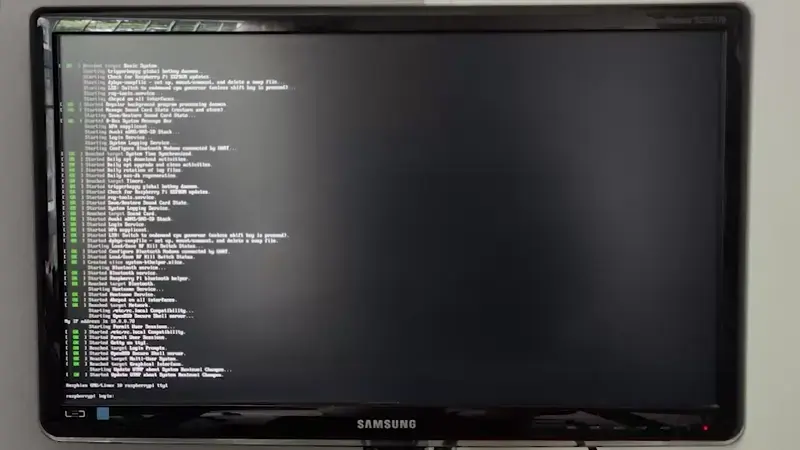
Once it’s booted up, the DHCP IP address received by the Pi’s network interface should be displayed in the boot logs.
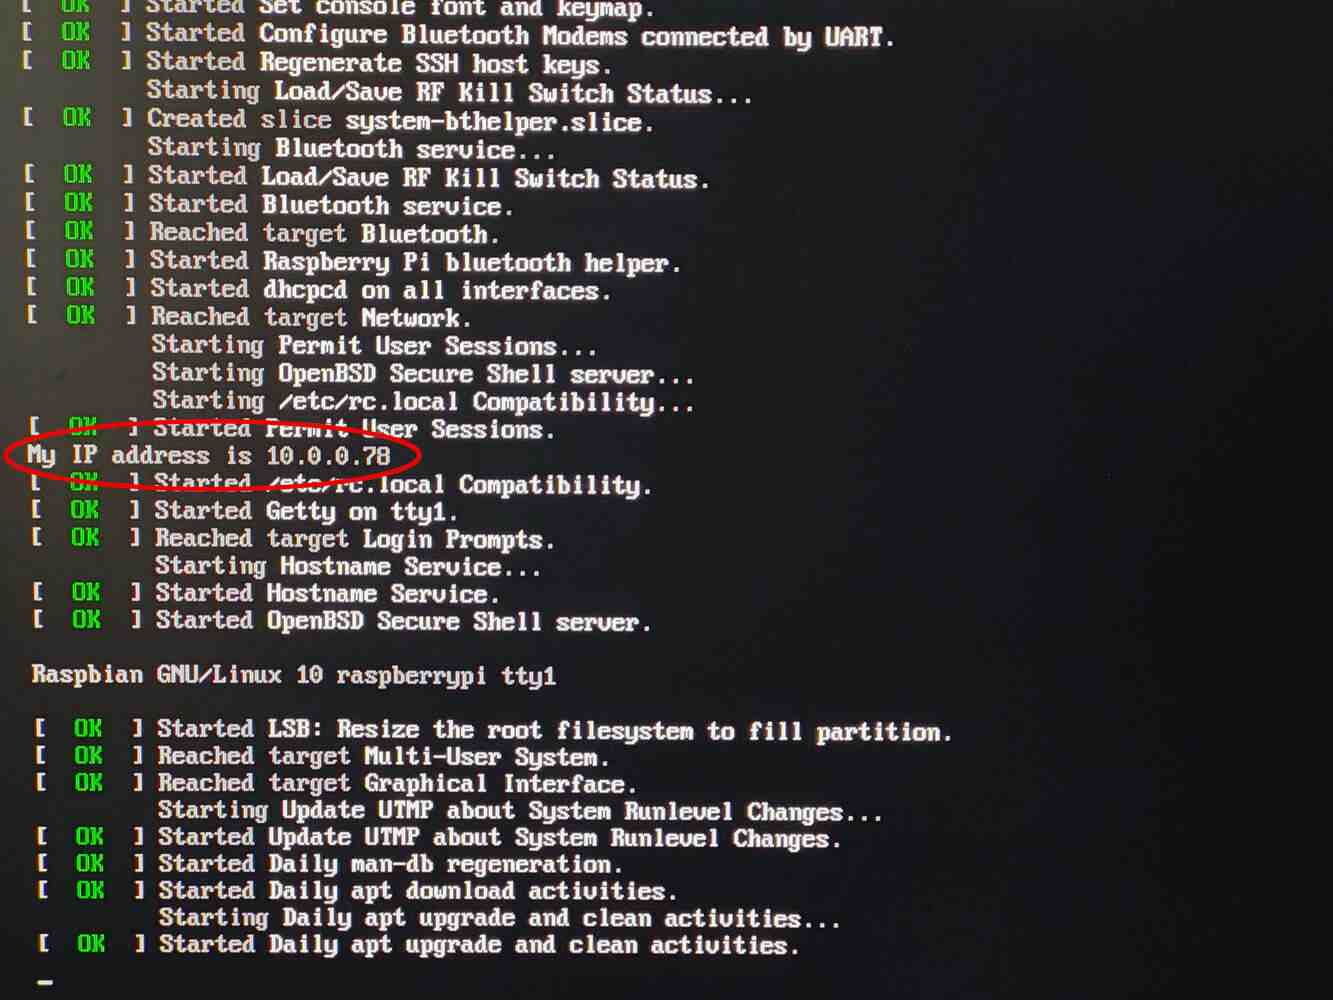
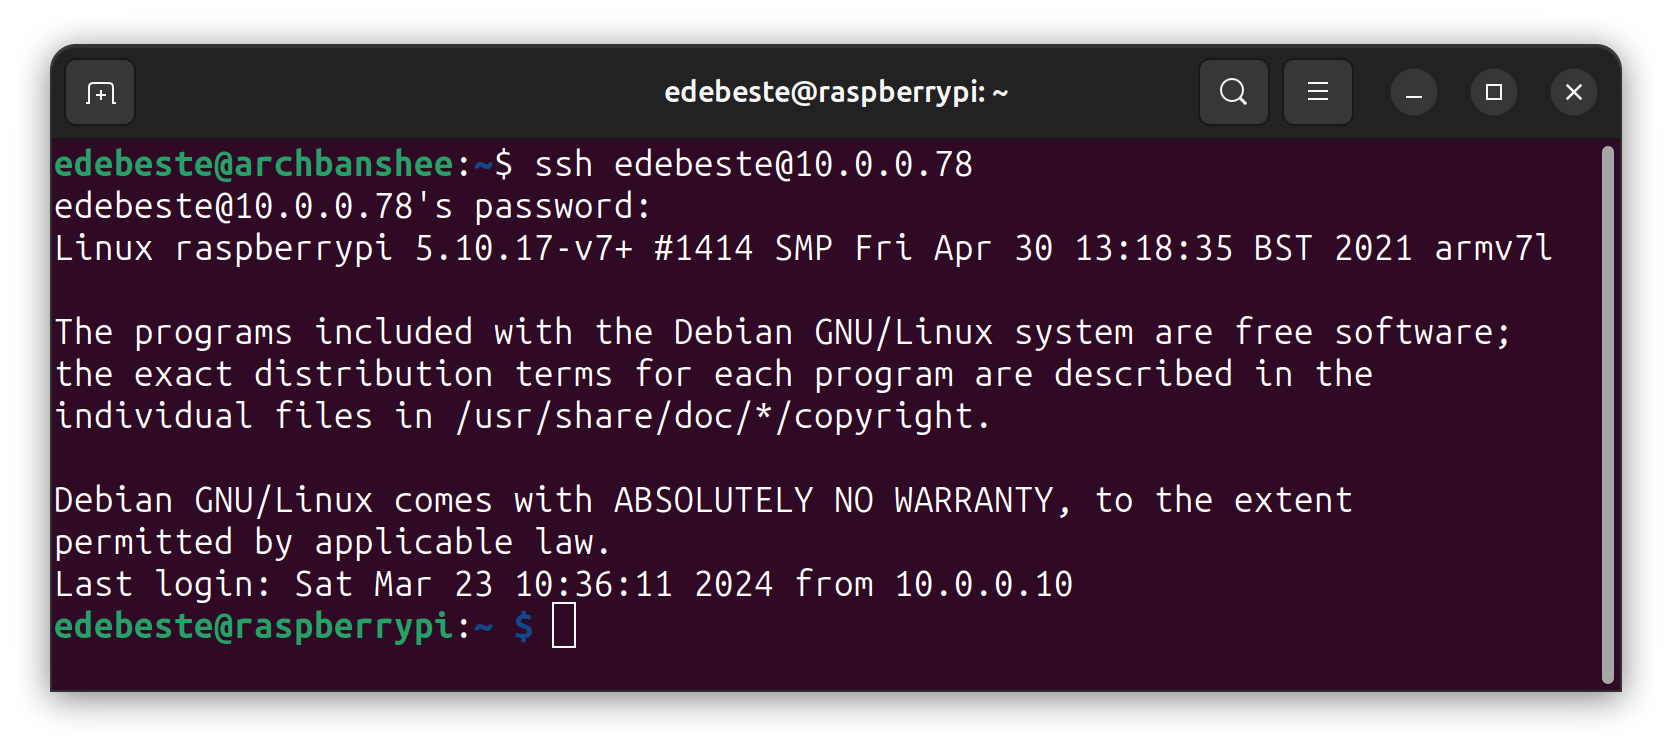
This address can be used to establish an SSH connection with:
| |
In my example, this would be:
| |
3. Get Displaycameras
Displaycameras is my current software of choice. It’s a wrapper around omxplayer and allows displaying video feeds in numerous ways, including various grid sizes and rotations between sets of cameras. It also has a relatively simple setup procedure.
With an SSH connection to the Pi, the following commands must be executed:
| |
Note
The following messages will present after running the apt update command:
| |
This is safe to ignore.
Tip
The vim package in the apt install line below can be replaced with a preferred text editor.
| |
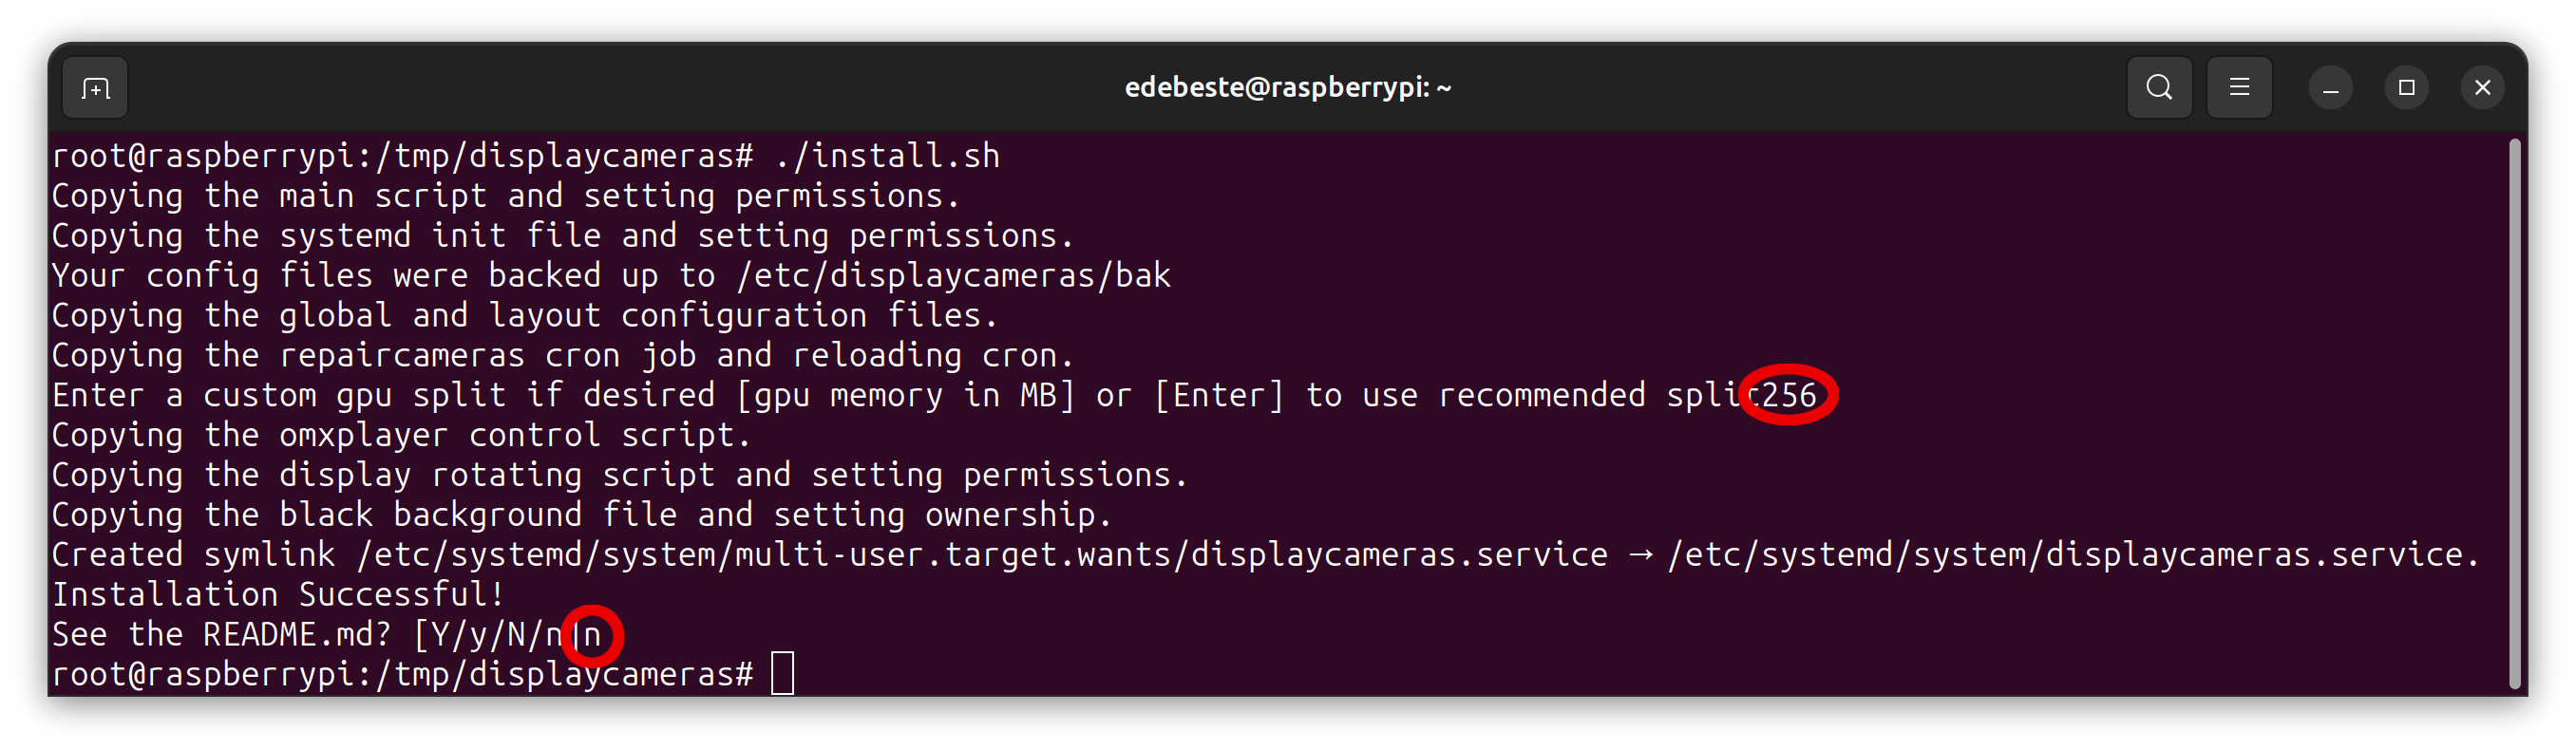
When prompted about setting up the GPU split, enter 256 and hit enter. Type n for seeing the README.md and hit enter, since it’s in the GitHub repo.
Info
I’ve settled on the value of 256MB for the GPU split, because it provided me with the most stability during my testing. This value allocates memory for dedicated use by the Pi GPU, lowering the amount usable by the operating system.
Since the Pi is dedicated for the purpose of streaming video feeds, lowering the system memory by this amount is not an issue.
Temporarily disable Displaycameras’s autostart on reboot. It’ll be re-enabled later.
| |
Displaycameras is now installed on the Pi. 🎉🎉🎉
4. Configure the Pi
Before I could configure and use Displaycameras, I had to make some changes to the Pi’s boot configuration due to what I presume to be framebuffer size issues when displaying 4 feeds at the same time. The workaround involves explicitly setting the framebuffer and display resolution to match the chosen monitor.
Reference this document: https://onlinelibrary.wiley.com/doi/pdf/10.1002/9781119415572.app3 and find the appropriate group (CEA or DMT) and the value that corresponds to the monitor. I use a 1080p computer monitor, so it would be HDMI Group 2 (DMT), with value 82.
With the above information at hand, edit the /boot/config file and below the gpu_mem=256 line (which was added by Displaycameras and should be the last line in the file), add:
| |
For my configuration, this results in:
| |
The Pi needs to be rebooted for the configuration change to apply:
| |
5. Configure Displaycameras
Displaycameras can now be configured to show the desired camera feeds.
First, uncomment blank in /etc/displaycameras/displaycameras.conf (line 14 at time of writing) and make sure it’s set to "true":
| |
This will remove the boot text from the Pi’s display before starting the camera feeds, leading to a nice clean black background.
The bulk of the configuration lies in /etc/displaycameras/layout.conf.default. Camera positions, rotations and feeds are defined here. A basic configuration that will match my setup is below:
| |
My example setup defines 4 camera previews of around 960x540 pixels each on a single display. I leave a gap of a single pixel between each of them so that there is a little black divider to separate them, hence the “959"s and the “539"s.
Tip
For additional example layouts, check out this GitHub link.
For more information about layouts read the layout.conf.default file’s comments.
Now that the layout is defined, Displaycameras can be enabled for autostarting on boot, and then started.
| |
💥 Voilà 💥
Caveats
I want to highlight some caveats that exist with this setup, namely:
- Displaycameras is old software that is seemingly no longer maintained, that being said it still works well.
- If more functionality is required or a newer project that uses a newer base operating system (with
vlcinstead ofomxplayer) is required, check out rpsurv. - I did not test audio. I don’t require it as I don’t currently record audio on my security.
- I did not test rotations or more than 4 camera feeds. I don’t currently need it and probably won’t for the forseeable future.
- Multiple high-resolution camera feeds will likely not work on the Pi Zero 2 W and a more powerful device may be needed. When testing with multiple 1080p streams, I encountered screen flickering and blanking that I wasn’t able to solve.
Conclusion
And there it is, a relatively simple and cost effective way to create a security camera monitor using a Raspberry Pi Zero 2 W and an old or second-hand display. My next steps are to mount it up on the wall and have the monitor and Pi turn on/off together, but that’s for another day.
Even with the caveats listed above, this setup is perfect for my needs and hopefully it helps someone who is looking to set up something similar. Thanks for reading and feedback and/or comments are welcome! 🙂